 My boyfriend Quentin was saying he wanted a beenie. So, me, being the new knitter that I am, I decided to check for patterns online. I looked and looked for a mans beenie. Finally I settled on one that had a folded brim by Terri Lee Royea. Only problem was that Quentin didn't want a brim. So, I figured I'd make the pattern shorter. After completing the beenie, I tried it on and the bottom didn't reach my ears (my fault, I got lazy and didn't want to keep knitting with those tiny, eensy, weensy, needles) and, it was too wide around the bottom. It fit like a huge yamukah. Oh, and the top had 15 stitches at the end and when I cinched it tight like the pattern said to, it was all gathered at the top and looked pretty lame.
After coming to the realization that the beenie I had just spent hours working on was a complete wash, I thought about trying out the same pattern again. But as I went along I got braver and braver and decided to go out on a limb and make my own pattern. So I did.
Oh, the other thing that drives me nuts about all the patterns I found online is that they require circular needles and you knit on the round. However, doing this requires purchasing double pointed needles. Now, I have made two hats and buying needles, especially when you don't use that size very often, is irritating to say the least. That in mind, this pattern only requires one set of straight needles and a darning needle (hurray!)
Materials
US Size 6 (4.00mm) straight needles
1 darning needle
Lion Suede 1 skein
Guage
Yeah, whatever, I just barely got started counting, do you really think I know guages? This beenie fits but could probably go down a few stitches. I casted 100 but if I make it again will probably cut off 8-12 stitches. Use some number of stitches that is divisible by 4.
Pattern

After you cast on your preferred number of stitches,
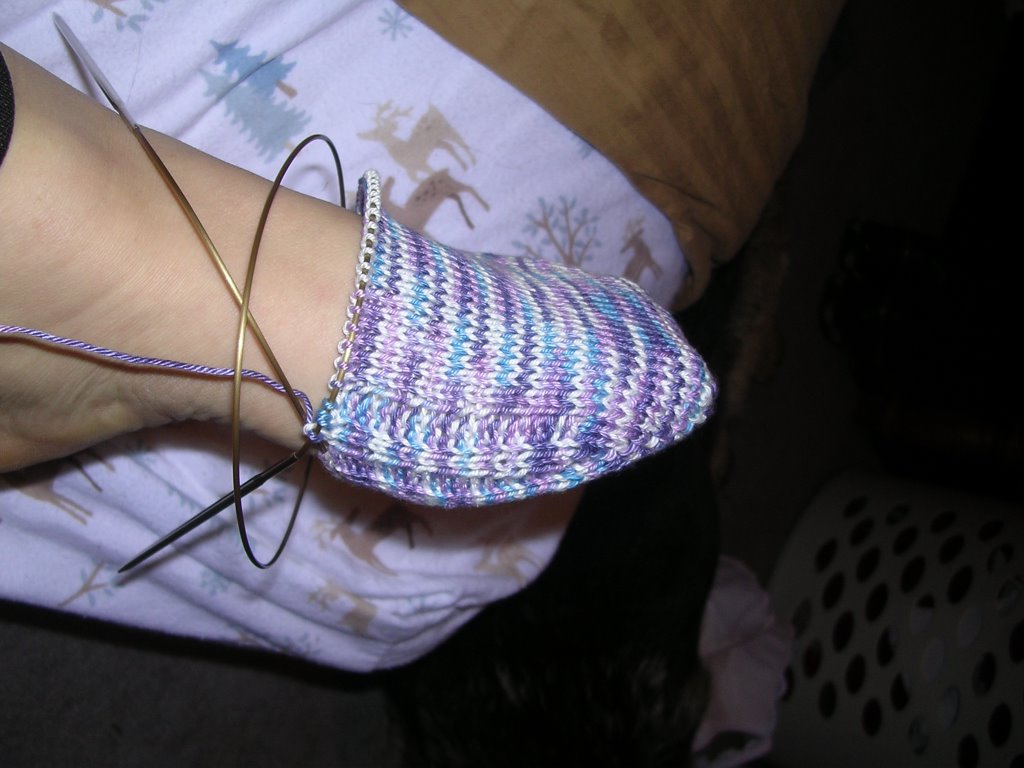
start doing a twisted rib stitch (this is just knit 1 purl 1 but instead of knitting through the front of the loop
you go into the back of the loop to knit like the picture) for about 6 to 6 1/2 inches.
Once you have the main body of the hat completed, it's time for decreases.
- Bind Off (BO) one every 25 stitches starting with the first stitch. (96 st remain)
Remainder of the hat will be worked in 4 separate sections (I left all the stitches on the straight needle but considered movin the 72 I wouldn't be using to start out with onto stitch holders).
- BO 1. Twisted Rib (TR) across. (23 st remain)
- Repeat previous until 20 stitches remain.
- BO 1. P2 tog (perl 2 together), K2 tog (knit 2 together in back of loop dont forget the twist), repeat to end of row.
- TR across remaining 10 stitches for 3 rows.
- SSK (slip, slip, knit) (5 st remain)
- SSK next 4 st, knit last st (3 st remain)
- SSK, P (2 st remain)
- SSK, Pull yarn all the way through st and cinch. Leave strin long for sewing up beenie.
Repeat this on each subsequent set of 24 stitches. W hen you finish it will look like this:
Sew up seams such that all the points are in the middle. Weave in ends and voila! The Hippest Beenie is born.
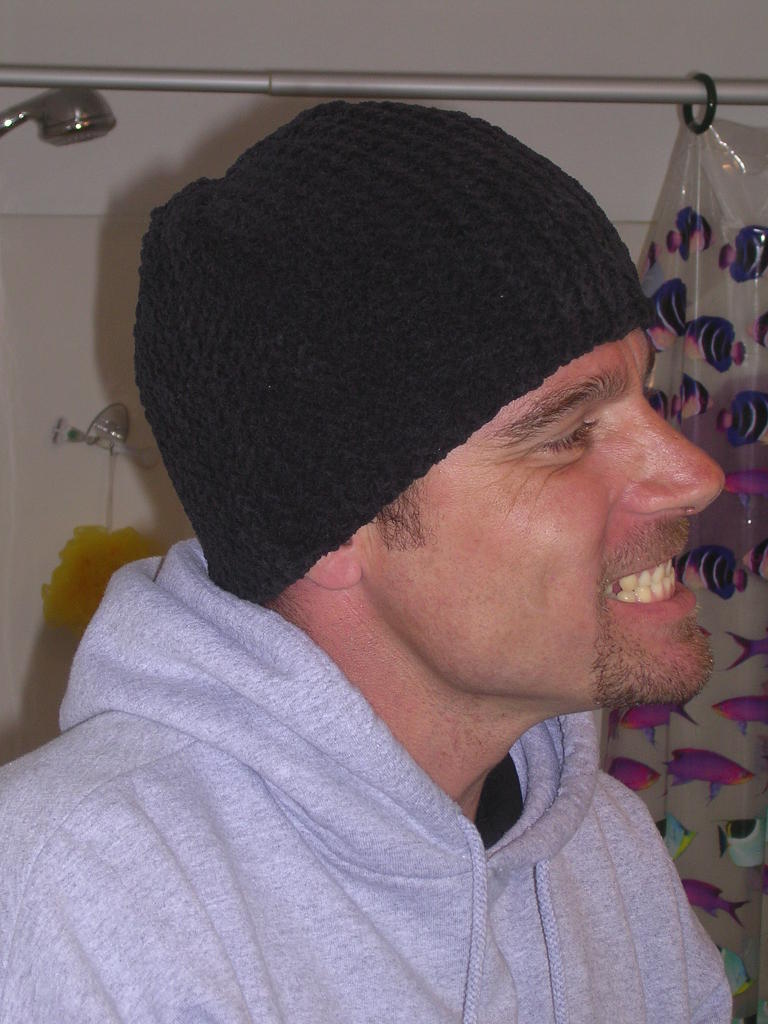
Quentin was really excited about his. See him at the top of this blog doing the cheese grin in the mirror.
Copyright © 2005 by Anastacia Ciau. All Rights Reserved. Images and text belong to the author. This pattern is intended for your own personal use and may be distributed FREELY as long as proper attribution is made.


No comments:
Post a Comment